Properly insulating your unfinished attic is one of the most cost-effective ways to improve your home’s energy efficiency. Here’s how to do it safely and effectively:
1. Investigate Your Attic
Before you begin, inspect your attic to assess its current condition:
- Access the attic using a ladder through a ceiling hatch (usually in a hallway or closet).
- Wear protective gear: a dust mask or respirator, gloves, and long sleeves.
- Lay boards across joists to create a safe walkway—never step between joists, as the ceiling below may not support your weight.
- Check existing insulation: Measure its depth and identify the type (fiberglass, cellulose, mineral wool, etc.). If it’s dry and evenly spread, you can add more on top.
- Watch for vermiculite insulation: If present, stop and have it tested for asbestos by a certified professional. (More info: EPA Vermiculite Guide)
2. Inspect Electrical Wiring
- Look for exposed wires or open junction boxes. These must be corrected before adding insulation.
- Knob-and-tube wiring (common in older homes) should never be covered with insulation. If present, consult a licensed electrician for an upgrade.
3. Seal Air Leaks
Insulation alone won’t stop heat loss if air is leaking into the attic. Seal gaps and cracks first:
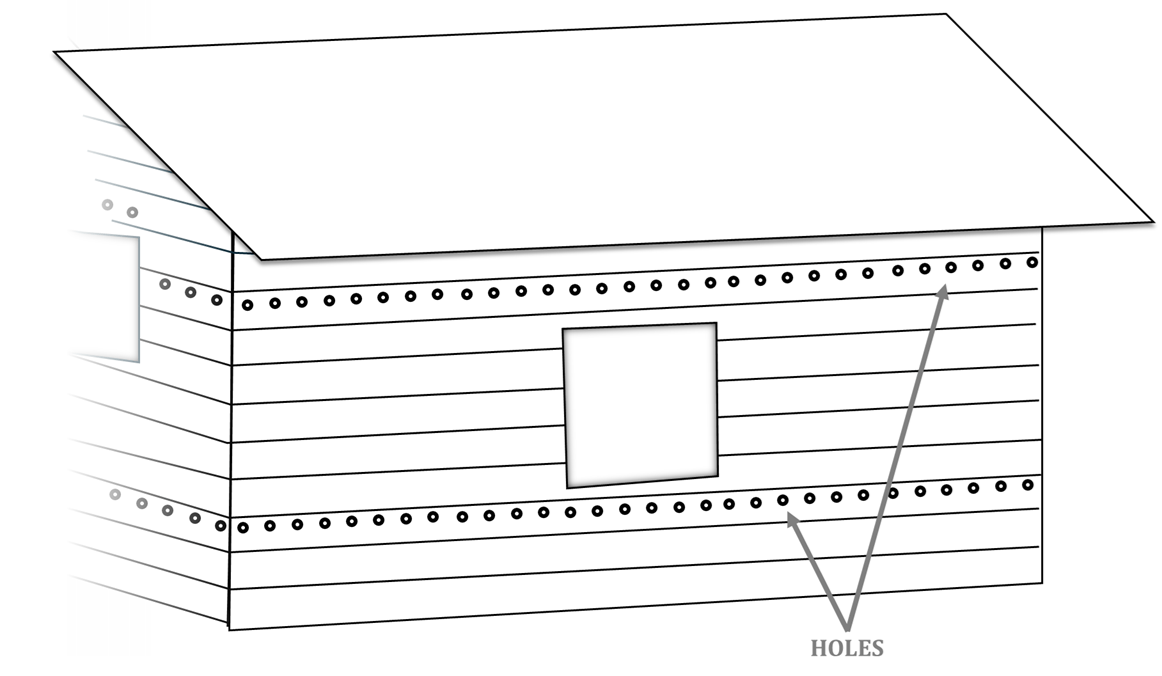
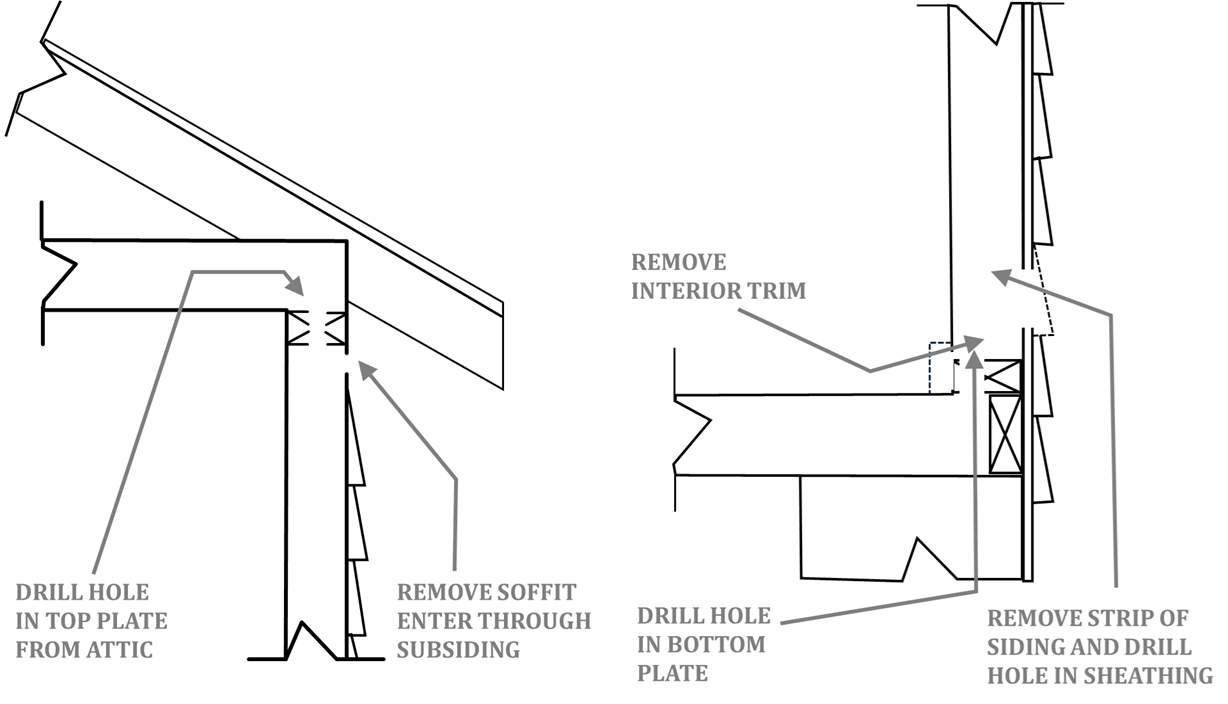
- Common leak points: around plumbing stacks, recessed lights, wiring holes, ductwork, and wall tops.
- Use caulk or spray foam to seal small gaps.
- Install weatherstripping around the attic hatch to prevent drafts.
4. Install a Vapor Barrier (If Needed)
Moisture from inside your home can rise into the attic and condense, reducing insulation effectiveness and causing mold or rot.
- For first-time insulation: Lay a vapor barrier (like polyethylene plastic) on the attic floor before adding insulation, or use kraft-faced batts with the vapor barrier facing the living space.
- If insulation already exists: Do not add a second vapor barrier. Use unfaced insulation or remove/slash any vapor barrier on new batts to prevent moisture trapping.
- Alternative: Use vapor-retardant paint on ceilings in high-moisture rooms (kitchens, bathrooms, laundry areas).
5. Ensure Proper Ventilation
Ventilation prevents moisture buildup and helps regulate attic temperature.
- With a vapor barrier: Provide 1 square foot of vent area per 300 square feet of attic floor.
- Without a vapor barrier: Double the vent area (1 square foot per 150 square feet).
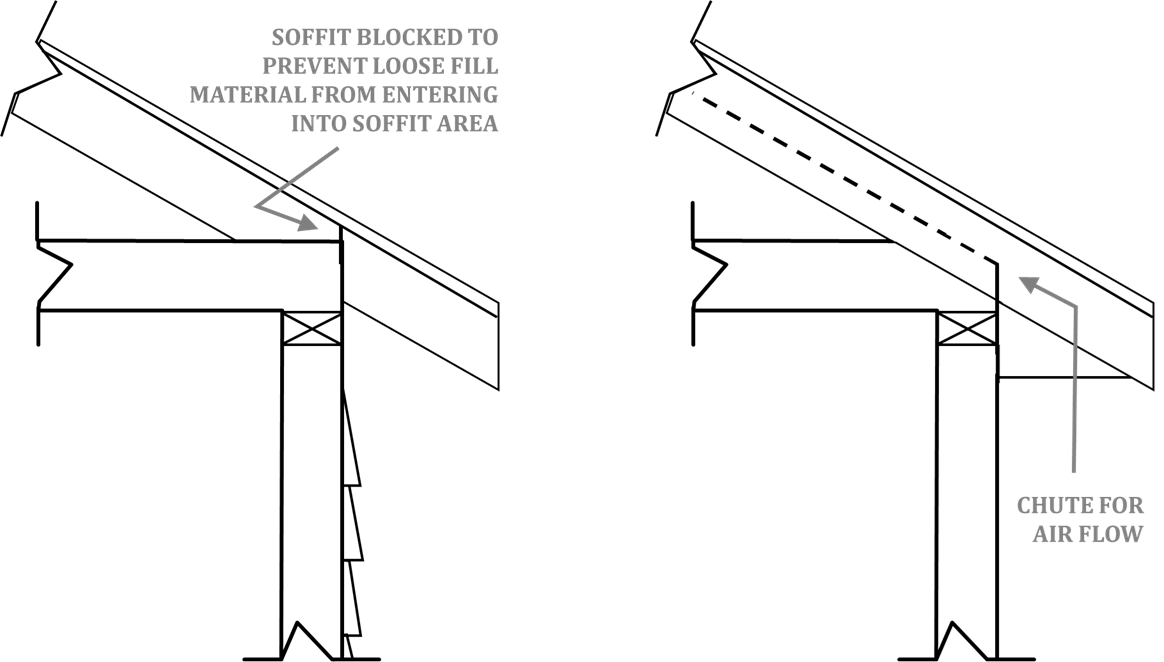
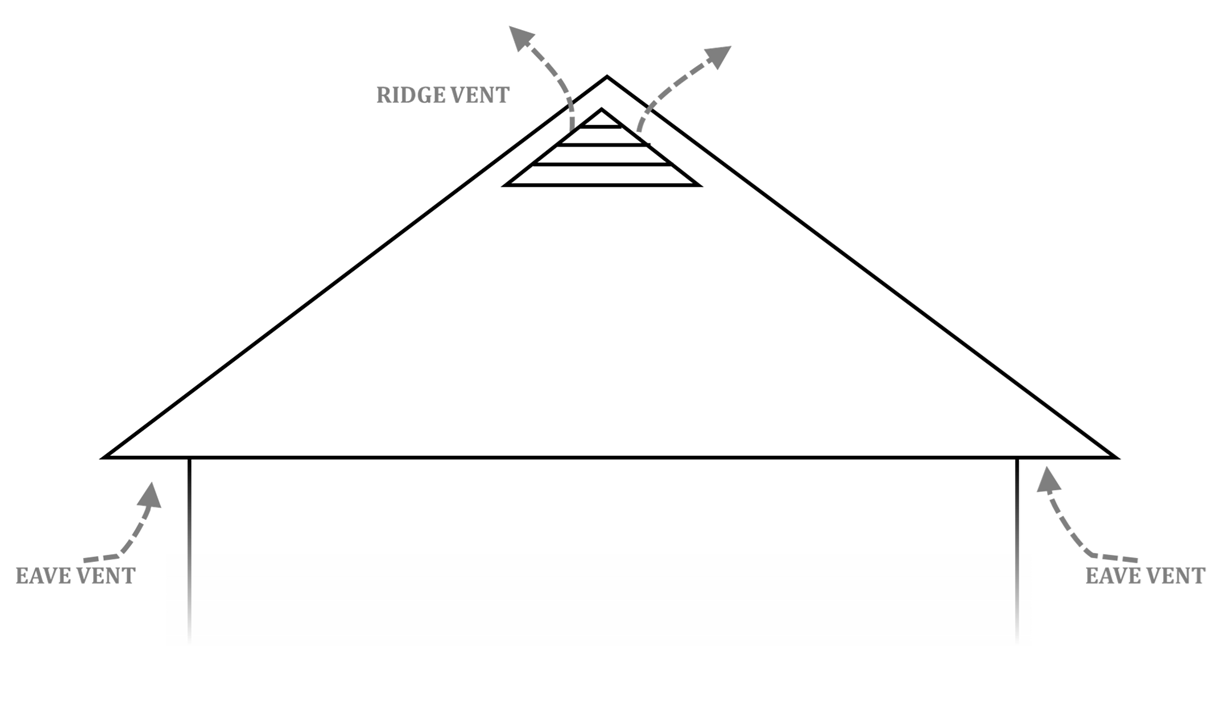
- Use a mix of vents: Soffit (low) and ridge or gable (high) vents allow for effective cross-ventilation.
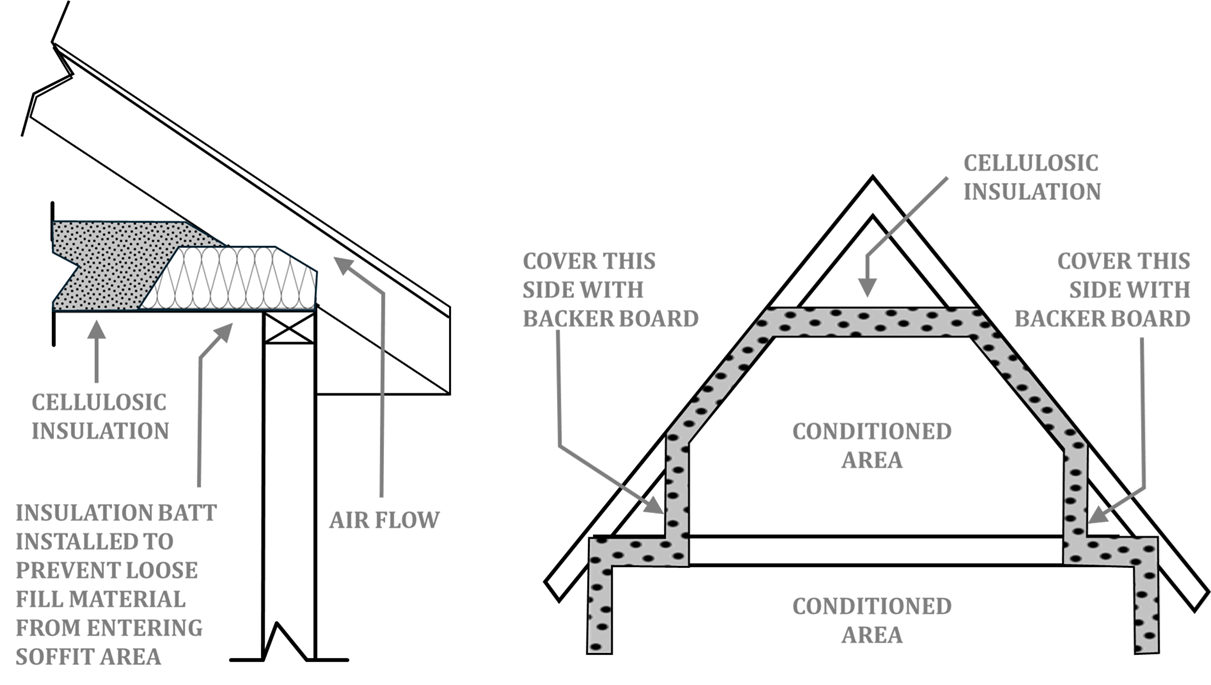
- Install baffles or chutes to keep insulation from blocking soffit vents.
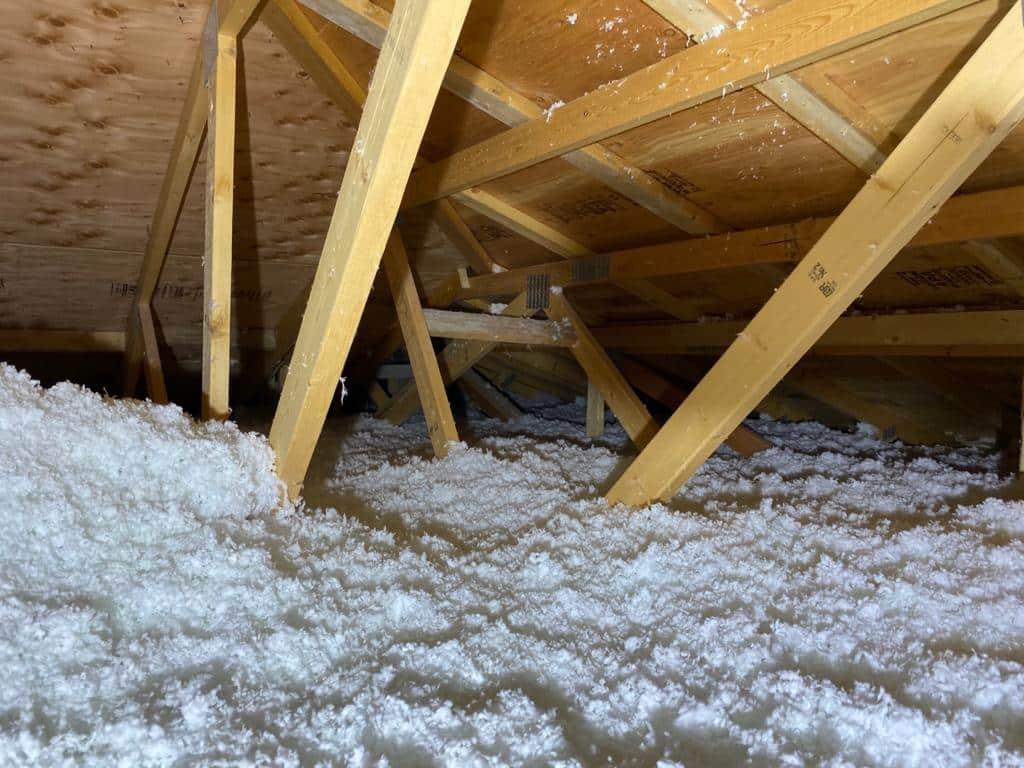
6. Install the Insulation
Now you’re ready to insulate:
- Batts or rolls: Fit snugly between joists. Lay a second layer perpendicular to the first for added R-value.
- Loose-fill: Pour or blow in evenly. Use a rake or board to level. Add depth markers if going above joist height.
- Combination approach: Use batts in open areas and loose-fill in tight or irregular spaces.
Important safety tips:
- Keep insulation 3 inches away from recessed lights, chimneys, flues, and fan motors.
- Use sheet metal barriers around heat sources, extending 4 inches above the insulation.
- Consult a professional if your attic contains a furnace, water heater, or knob-and-tube wiring.
Insulating your attic may be dusty and time-consuming, but it’s one of the most effective ways to improve comfort and reduce energy costs in Maryland homes. Whether you DIY or hire a contractor, following these steps ensures a safe, efficient, and long-lasting result.